


Photo by Roman Synkevych 🇺🇦 on Unsplash
Introduction to Git and GitHub - Welcome to Version Control
A beginner's guide to Git and GitHub


What is Version Control?
If you are just starting your journey to become a web developer, it's great to become familiar with the terms - "version" and "version control". "Version" denotes a particular stage of development of your codebase or app. You can build a simple webpage first (e.g. initial version or version 1.0), and then continue to improve it by adding interactivity using JavaScript - thus creating a new "version" (e.g. version 2.0). Similarly, any deployed project keeps getting updated with new and improved functionalities according to users' needs - which leads to the creation of different versions and the need to have a "version control" system, i.e. software tools used to track the modifications in the codebase and maintain a log of the same.
Getting familiar with Git
Git is a powerful version control system that is widely used by developers around the world. Whether you're working on a solo project or collaborating with a team, Git can help you keep track of changes to your code, share your work with others, and manage different versions of your project. GitHub is one of the most popular Git hosting services which hosts your codebase, manages version control, and enables collaborations.
If you're new to Git, it can seem overwhelming at first. But with a little practice, you'll quickly learn how to use Git to improve your workflow and become a more efficient and effective developer. By the end of this post, you'll have a solid understanding of Git and be ready to start using it for your own projects.
Setting up Git
Step 1 - Download Git
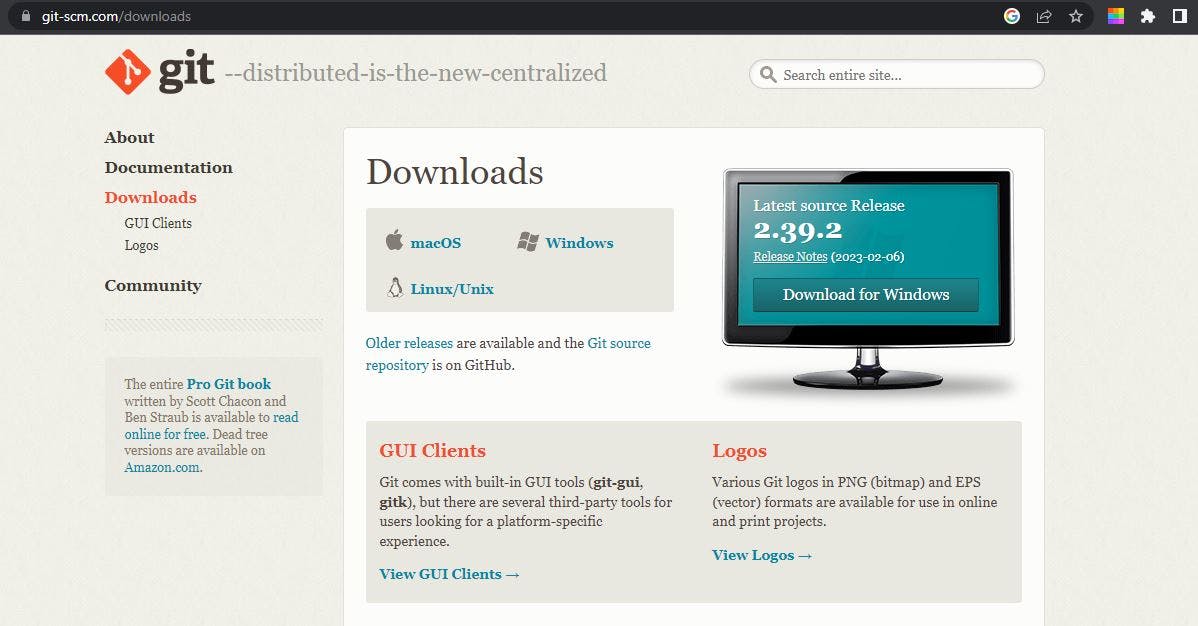
Go to the official Git website at git-scm.com/downloads and download the appropriate version of Git for your operating system. If you're using a Windows machine, you can download the Windows installer, which includes a graphical user interface (GUI) and a command-line interface (CLI).
Step 2 - Install Git
Double-click the downloaded installer file to begin the installation process. Follow the prompts to complete the installation. If you're using the Git for Windows installer, you'll be asked to choose between using Git Bash or the Windows Command Prompt. Git Bash is recommended for beginners, as it provides a Unix-style terminal environment that is more familiar to developers.
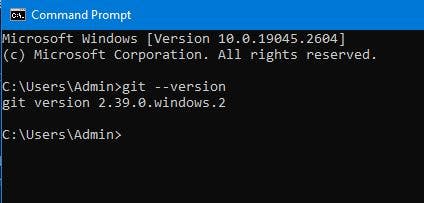
Step 3 - Check Version
Once the installation is complete, open the command prompt terminal and type git --version. If installed correctly, this will display the version of Git that you've installed. Congratulations!
Basic & Most Used Git Commands
1. git init
This is used to initialise (that's why "init") a Git repository in your project directory. This creates a new .git subdirectory that contains all the necessary files for Git to manage your project. This will be required when you are creating a project in your local machine from scratch and initialising it into a Git repository.
2. git add
This command is used to add files into the staging area and prepares the files for commit. The syntax is git add <YOUR FILENAME> for a particular file and git add . for all files.
3. git commit
This is the command to save the changes to your local repository. The syntax is git commit -m "YOUR MESSAGE" . It's the best practice to mention in your message the specific updates and improvements you made in your repository. If it is the first commit instance, you can go for a message like git commit -m "initial commit" .
4. git status
This command shows which files have been modified, which files are staged for commit, and which files are not tracked by Git.
5. git log
This is a particularly useful command used to view your commit history. You can view previous commits along with commit messages, dates, and authors.
6. git branch
While developing a large project, you may not always want to make changes in the main branch which is up-to-date and running in production. Instead, you can work in a branch with its exact copy - thus avoiding editing in the existing code base and only go for implementation of new features when it's fully ready. git branch <ENTER BRANCHNAME> will create a new branch with a custom name. You can also delete a branch using git branch -d <ENTER BRANCHNAME> and switch between branches with git checkout <ENTER BRANCHNAME> .
7. git merge
This command is for merging two branches to incorporate all changes. The syntax is git merge <ENTER BRANCHNAME> . Before merging, make sure you've used git checkout to switch to the main branch in which you would like to merge the secondary branch - thus making the main branch "HEAD".
8. git clone
This is one of the most used git commands. It is used to create a copy of a remote repository on your local machine. The syntax is git clone <YOUR URL> . For best practice, always fork the repository, with which you want to work, first in your own GitHub account. Then use your forked repository's URL in git clone command to make a local copy of the same and work
9. git push , git pull and git fetch
These three commands are essential for collaborating with other developers on a project. You can use git push origin <YOUR BRANCHNAME> to push the changes from the specified branch to the remote repository named "origin". The command git pull origin <YOUR BRANCHNAME> is used to fetch the changes from the remote repository named "origin" and merge them into your current branch. The command git fetch is used to fetch changes from a remote repository without merging them into the current branch. The command git fetch origin fetches the changes from the remote repository named "origin". This command downloads the changes but does not apply them to your working directory.
Using Git with GitHub
Now that you know what Git is and how to use Git commands, let's explore Git's full potential combined with GitHub - one of the most popular online platforms for hosting Git repositories and collaborating on open-source projects. You can create a new project from scratch and host it in your GitHub account or contribute to an open-source project by forking and cloning it in your local machine and creating a pull request once you made your changes to it for final approval of integration in the remote repository.
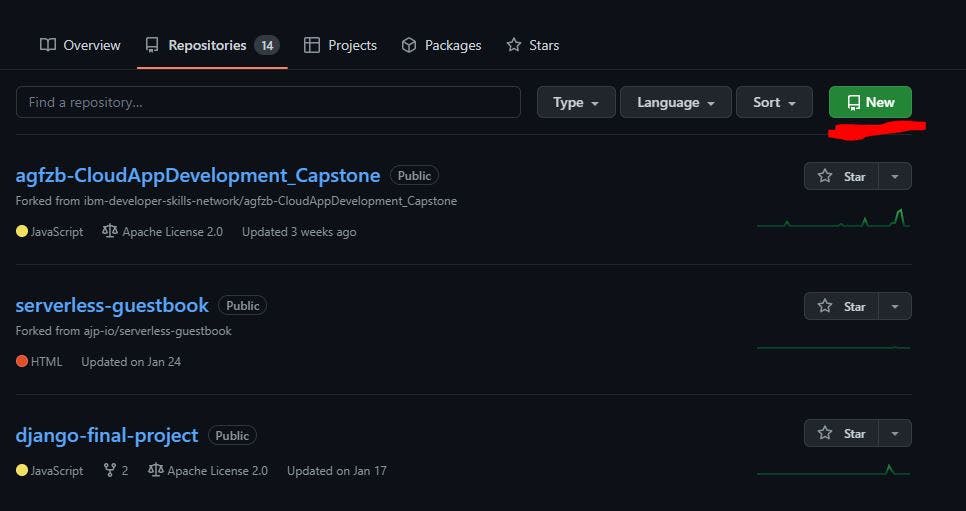
Creating a GitHub account is quite easy. You can just go to the GitHub website (github.com) and create a free account. Once you've created an account, you can create new repositories and collaborate with other developers.
To create a new repository in your GitHub account, click the "New" button on the main page. Now give your repository a name and a description and choose whether it will be public or private. You can also add an optional README.md file which is originally intended to hold the documentation of your project. Including this is especially necessary in case you want other people to contribute to your project. Also, this is the best practice as well.
After creating a repository, you are free to clone the same in your local machine, make changes to it and then push the changes to your remote repository. With git push, git pull and git fetch commands, you are good to go with collaborations as discussed earlier.
Summary
Wonderful job! Now we have learnt the definition of "version" and "version control", their significance, the usage of Git for version control and GitHub as an online hosting platform for repositories. We have become familiar with useful Git commands like initialising a new repository and how to make changes and push the local copy in remote origin. We have also learnt about git commands helpful for collaboration. We have also become familiar with the usage of Git with GitHub along with some of the best practices.
In short, Git is a fantastic tool that can help beginners manage their code more effectively. By mastering the basic Git commands, you can track changes to your code, collaborate with other developers, and share your work with the world. Whether you're just starting out or looking to level up your skills, learning Git is a wonderful way to become a more productive and efficient developer. So don't be shy – give Git a try today and see how it can transform the way you work with code. So once again, let's code!